Nikola Tesla News
Tesla Swarm Controller - Part 4 - Power and Code
In this fourth post in the Tesla Swarm series, let's start by talking about power distribution and consumption.
For those landing here in the middle, here's a shortcut to the first post in case you'd like to start from the beginning.
One thing all Tesla coils need is power, and typically, lots of it. Even these small, Chinese coils with their 4-inch sparks have to be hungry. The coils ship with a 48VDC switching power supply rated at 2 amps. Would we really need 120+ amps to drive 64 coils? In dissecting one of the power supplies, I was figuring not. The DC power cord from the supply looked to be using 22AWG wire. If it could carry 2A, I'm sure it wouldn't do it long without some heat. Measuring the current draw of a running coil showed that it was closer to only 500mA draw at max power. Pulling the biggest, strongest power arc I could from the coil, the current draw never exceeded 700mA.
Now you may be wondering why not just use the included power supplies? Well, I could, but... First of all, I had no desire to use a Clark Griswold, Christmas Vacation wiring plan, with dozens of power strips and splitters. That's just not my style, you know... Second, these power supplies are not the greatest. Out of nearly 100 of these coils I've purchased, 3 had bad supplies, out of the box, DOA. I think they are certainly the weakest component and will result in most of the failures with these coils for anyone who buys them. The coils themselves are finely tuned to be resilient, not running on the ragged edge. And with the over-temp cutoff, they're really hard to damage, almost bullet-proof.
What I settled on was one, 1,500W, 48VDC power supply per 16 coils (four power supplies, total). Using 120V input, these are rated 28A each. This would give me more than twice the maximum needed current to power each set of coils. If one of the supplies goes out, I could temporarily piggyback off one of the other supplies. Plus, I'd have some room to grow, if I'd like.
I began cutting off all the DC power cords from the original power supplies. I stripped the ends of eight cords and twisted the pairs all together. Then I soldered the ends to a pair of 8AWG wires with ring terminals. I repeated this for the other three sets of cords and I was set. I tuned all four supplies to 48.5VDC, matching the voltage of the included power supplies, and connected the cords.
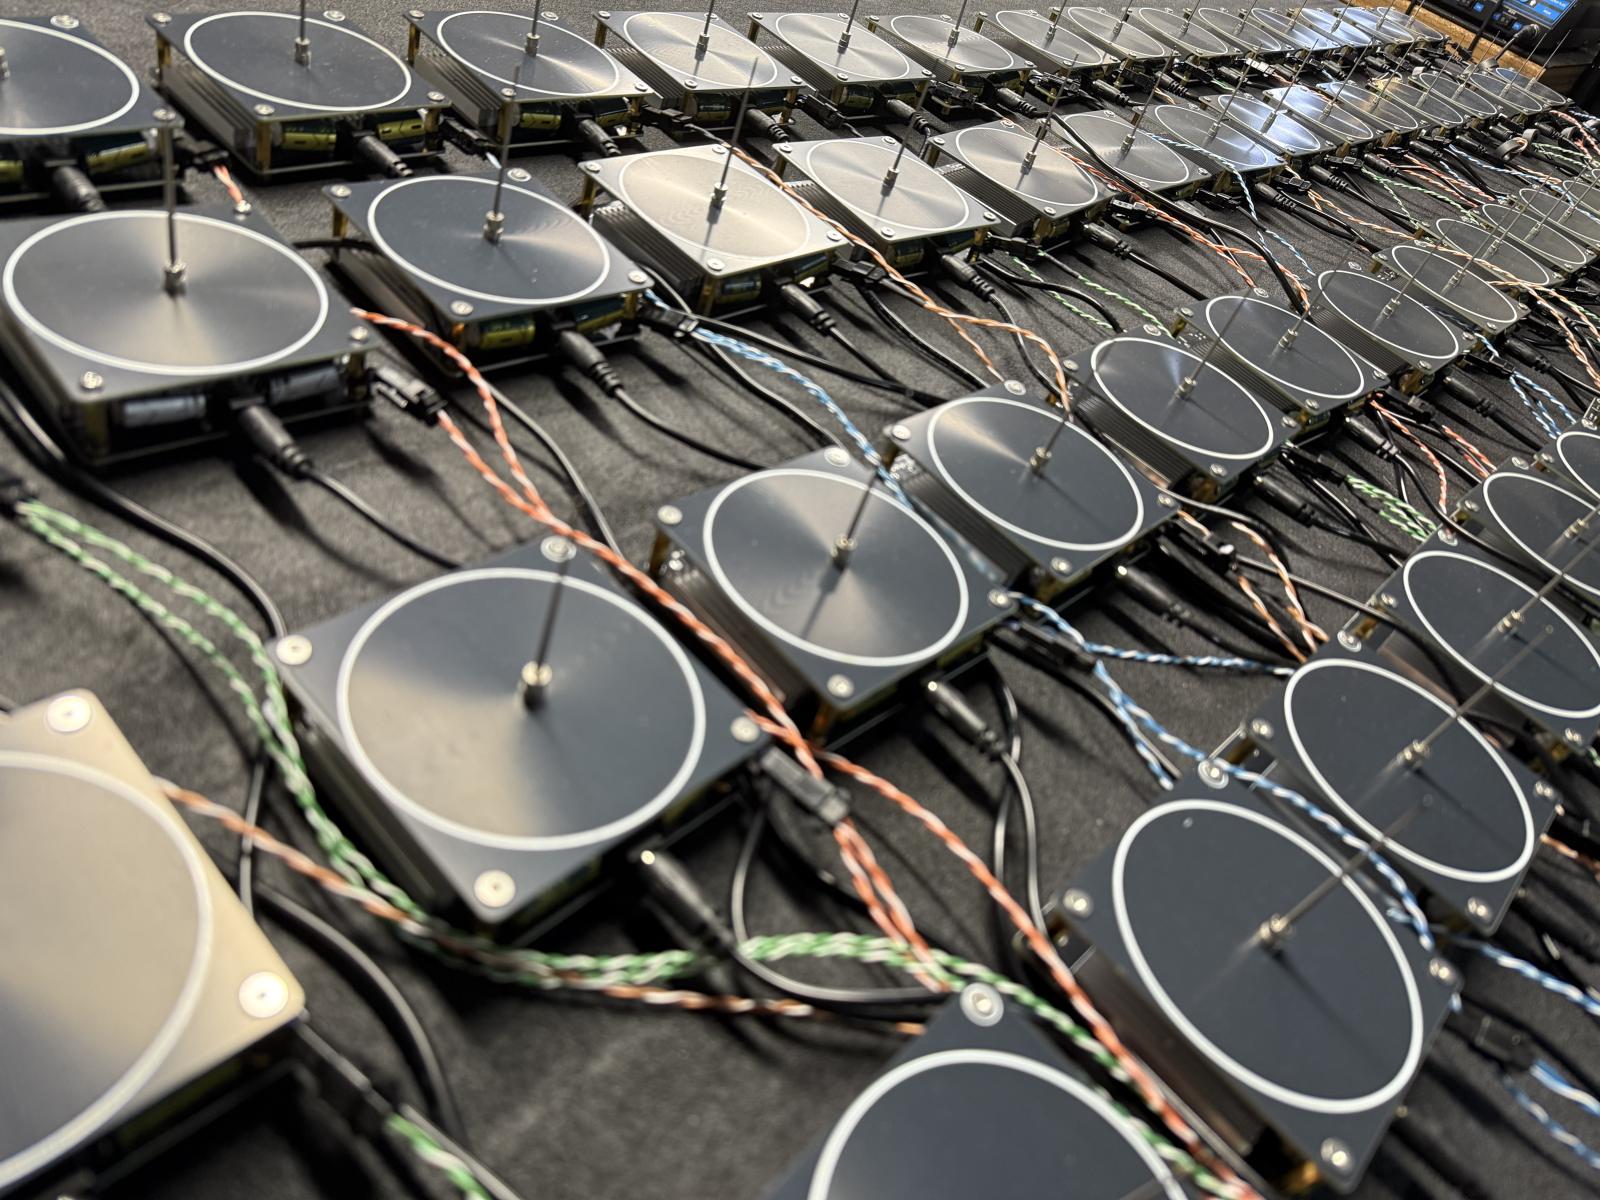
Next, I needed to get the input cables made for all the coils. I cut multiple 8-foot lengths of CAT5 cable and stripped them all and separated the pairs. I terminated each end with a 2-pin connector mating to those on the coils. I had installed binding terminal blocks on each slave, making it easy to terminate the cables. Still, it was a rat's nest, LOL.
The hardware was ready! I anxiously connected all the ethernet cables and watched the slaves power up, one at a time, flashing the port LED as the drivers loaded. I started bringing up each of the four power supplies and watched the blue power LEDs beneath each Tesla coil begin to glow. I had all the power supplies plugged into a single power strip so that I could easily switch them all on and off together. The strip also has a built-in breaker, probably 5A. I knew I'd never be able to run all 64 coils at 100% with this setup, but it was okay for now.
The controller was connected and powered on. I went straight to the interrupter screen and enabled the outputs. I slowly brought up the pulse width as before and was pleasantly surprised to hear the orchestra of Tesla coils, all singing at the default, 100Hz. I kept dialing up and up, before having to stop and put on my hearing protection. Yes! 64 Tesla coils, even small ones, are LOUD! I resumed increasing output level and I would say I got to around the 40% mark and, click. The breaker popped. I reset everything and tried again to confirm everything was okay, not going up as high, and everything was fine.
At this point, the codebase had been through several rounds of updates for the network slaves, usually testing only with the interrupter screen. So the MIDI playback screen severely needed revision, it wouldn't even load. As much as I wanted to see MIDI on the 64 coils, I'd have to wait for two weeks to try it as I'd be away on vacation. I prepared compact versions of the controller and network slave (with speakers) on perfboard (photos in the gallery linked below) to take with me. I was lucky to find nice, briefcase-like pencil boxes in Walmart's back-to-school section. The boards fit the cases perfectly. I created an ethernet loopback cable so I could test the slave without a network hub or switch.
The next two weeks, I focused strictly on code, working on the project on the plane and during down times. Getting the MIDI playback screen going again was pretty trivial. It was mainly API changes I'd made related to the output objects. Initially, with my plan to have/allow multiple, simultaneous output drivers, I had an output manager service which looped over these global output buckets. Any driver could place an object into the buckets and when outputs were enabled on a corresponding channel, each item in the bucket would be enabled. I learned from my testing that in order to play complicated, multi-track MIDI, we needed to streamline things considerably and this extra looping was causing delays in playback.
I made a decision to update the code to strictly support only 8 outputs from a single driver. I did the same for the display, removing the multi-display support. All the input and init code was simplified and streamlined as well. I went through every file in the codebase with Grok, taking suggestions here and there, streamlining things even further. My little test rig was working great, but my girlfriend cringed when I played a certain test song, telling me one of the main notes in the chorus was off key. I explained it must be something with that specific MIDI file, but I was curious. I played the MIDI through the speakers on my MacBook, sure enough, it sounded better there. What could be wrong?
At the present time, I was using 6-byte packets which contained three items; channel number, frequency, and pulse width. I went through the code, adding debugging, to confirm the frequency value as it flows through the code and is received by the slave. I verified all the math used to calculate the frequency from the MIDI data. Everything looked good, but what I noticed was that frequency was an integer on the slave. This has to be it and that particular song's note must be one of the more rare cases where the value is the furthest off it could be due to the rounding. In MicroPython, the PWM function only accepts an integer, hence why the slave code uses integers. But in researching it, the interaction with the PWMs in C allows floats.
I retooled the slaves to support 8-byte packets to allow the frequency to then be passed as a float. This really helped and further confirmed the decision to use C on the slaves. My girlfriend stopped giving me weird looks, too!
The next order of business was the ability to assign tracks to more than one output. At that point, my controller matched Phillip's in that you select a MIDI file, then you select a track from the file, and finally, select an output for the track. In order to select more than one output, the UI had to be updated to list all the outputs with checkboxes for each one. I also had to expand the logic to prevent outputs from being used for more than one track. All this work was pretty trivial in the big scheme of things. Pretty soon I had everything working and could play a single track on all 8 outputs.
I had already coded the level save function back when the .map files were implemented. The .map files store track-to-output mappings, and in my controller, a level percentage for each output. During MIDI file playback, one of the encoder pushbuttons runs the save function which updates the .map file with the current levels. You can also enable an auto-save function which automatically saves the levels after playback ends. Then when you select the song again in the future, the levels are restored. This means you don't have to try and remember optimum levels each time you play a song. There's always that one track that's louder than the others.
The final feature I needed was the master level control. The idea was to have the master level default to 50% when playback begins. Then, rotating CCW would proportionally reduce the output levels for each channel and the opposite for CW rotation. This would work hand-in-hand with the level save function to help you maintain unique mixes for each song, but allow you to adjust them globally for use with different coils or venues, fade all coils in or out slowly, etc. Of course, we needed a way to visualize the master level position. Crowding something into the display along with the 8 output level percentages would have been difficult. Instead, I went with an RGB LED ring. So now, when playback begins, the RGB LED shows half of the LEDs lit. As you adjust the master level, the LEDs light up or extinguish accordingly.
While the master level control works as desired, what I've discovered is that due to the complex math being processed for all 8 outputs with each adjustment, rapid adjustment triggers MicroPython's garbage collection. This stalls playback and sometimes, after garbage collection, the controller recovers by playing the MIDI very rapidly, trying to catch up. Sometimes the controller never recovers and has to be reset. It works well enough for now. I just have to adjust the master level slowly. I'll come back to this in the future.
This took care of all the features I'd set out to include, but I had a little extra time. While I was at it, I added mute functionality for each channel. Double pressing any channel level control now mutes, or unmutes, the channel and the display indicates this by highlighting channel numbers for each muted channel. Not sure where this might be needed, but it wasn't difficult to implement. For the remainder of my time, I worked on MIDI music. I prepped many new songs and created all the .map files so I'd be ready when I got home.
That's it for now. In the upcoming, final post, we'll get to the first MIDI file playback on the 64 Tesla coil swarm, talk about failure modes I've discovered and what's next for the project.