Nikola Tesla News
Tesla Swarm Controller - Part 2 - Getting the Net to Work

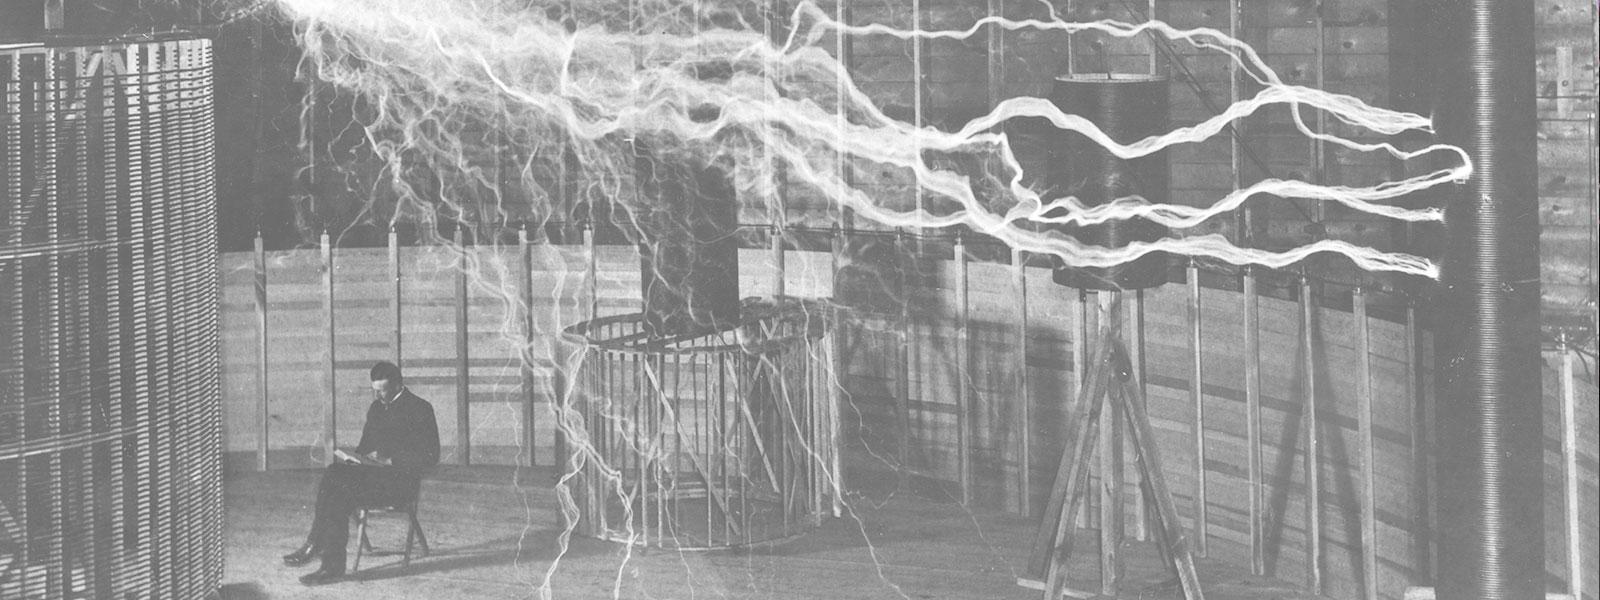
In part one of this series, I described my project to drive a large swarm of Tesla coils. This idea was inspired by drone swarms, which use hundreds of drones to draw images in the sky with LEDs.
To recap, we've settled on these items for the basic hardware for the controller:
1) Raspberry Pi Pico 2 (RP2350) Microcontroller
2) I2CEncoder input devices
3) DMASPI 256x64 Display (SH1122 or SSD1322)
4) SPI SD Card Reader
5) SPI Ethernet Adapter
The next step was to select which ethernet board to use, and of course, that came with another dilemma. Wiznet is pretty much the only game in town, with their W5500 and W6100 chipsets, plus, they offer Pico boards with integrated ethernet! This would be perfect for the network slaves I had been contemplating. The catch? The W6100 chipset isn't supported on MicroPython, yet. And, to top it off, the Pico board with integrated ethernet using the W5500 was only available with the older, RP2040, original Pico. I ordered a few of the W5500 breakout boards that I could connect to my existing Pico 2s, but I really liked the idea of the Wiznet Pico 2 with integrated ethernet (more on this later).
At this point, I pretty much just had working, stand-alone test scripts for all the hardware. So it was time to start putting them all together to build out the controller. I began with the menu system. This would be the heart of the UI for the project. The menu would be used to access all the various mode and configuration screens, operated by the I2CEncoders. I scoured different projects looking at how they handled UIs with MicroPython. I lucked out in finding the uMenu project which offered pretty much everything I needed. It's all class-based and includes numerous UI elements, plus the ability to create custom menu items.
The project code was arranged with the concept of drivers and screens. There would be drivers for display, input, output and RGB LEDs. The idea was to create a system where any number of drivers, of any type, could be instantiated at the same time. Some drivers would be custom, others would just be wrappers for existing libraries.
Getting the display, menu and first I2CEncoder working was pretty straightforward. The encoder scrolled through the menu and its pushbutton selected menu items. My first screen was a standard interrupter. This screen would have frequency and pulse width inputs which would be operated by two I2CEncoders. The second encoder's pushbutton would enable and disable the outputs.
This is where things got harder! While each I2CEncoder has a separate interrupt output (this is a pin which toggles when input occurs to let the Pico 2 know), but ideally, all I2CEncoders share a single interrupt pin to conserve GPIO pins. I banged my head for more days than I can remember trying to get multiple I2CEncoders working together. I won't bore you with the endless details. Let's just say that mutexes are a must when dealing with more than one device on an I2C bus, and, you should never attempt to do any sort of heavy lifting inside an interrupt callback. This is where asyncio enters, allowing the interrupt callback to simply, and quickly, set a variable that an asynchronous process detects and handles from there.
Once the input battle was won, I needed to develop an output driver to test with. I feel like a broken record in saying this, but of course, there are multiple options for providing PWM output from a Pico 2, hence, another dilemma; hardware PWM, hardware PIO, blocking bit bang and asynchronous bit bang. I did try all of them and I can safely say, hardware PWM is the most straightforward and provides the best result.
Rather than blasting my ears, and driving the family crazy, I put together little, micro cavity speakers and amp boards to stand in for the Tesla coils so I could test the project. What I noticed right away was how noisy the outputs were. I ended up having to add low-pass filtering and resistors to limit the input to get the noise down to a reasonable level. We'll hear more about noise in a bit.
Once I had the outputs going with the standard interrupter, I moved on to MIDI, then things got harder, again. To make a long story short, the dual core is a must when decoding MIDI with MicroPython. A single core just isn't capable of maintaining timing during decoding while also handling inputs and outputs.
After a few months of refining, I had developed an 8-channel stand-alone controller and demonstrated it to the Tesla coiling community by playing Footloose, which is a pretty complicated song with 8 separate tracks. I was still playing through speakers at that time, but the controller played the song really well, and coolest of all, I was able to integrate RGB LED rings to act as VU meters for each of the eight channels.
During this early testing, I would notice pretty significant spikes on the outputs, at times. It would happen during frequency or on time adjustment in interrupter mode, or note changes in MIDI playback mode. Each of my little speaker boards also has an LED so you can better distinguish which speaker is playing. During these spikes, the LEDs would go to full brightness and you could hear a prominent pop. This is not the thing you need to see with Tesla coil controllers. More on this in an upcoming post.
I shelved this problem for the moment and moved on to develop the network slave output driver. The slaves would be relatively simple. They basically act as UDP listeners which enable or disable PWM outputs, at specified frequencies and on times, based on the data being received. I tried to do this with CircuitPython using the W6100 Pico 2, but it was just too slow. CircuitPython has A LOT of overhead. I did get a MicroPython version of the slave working with the W5500, but I really wanted to use the W6100 Pico 2.
As simple as the slaves would be, I wondered about coding them in C. This would allow me to use the W6100 Pico 2 and have the added performance that C provides. Being my first real C project, it was a slow start, but Grok, and some pretty good examples provided by Wiznet, really helped. The slaves prompt for configuration change, much like the old BIOS in PCs. You can set the number of channels, network details and debug mode. The config is saved to flash memory and automatically loads after the config prompt timeout. I even added group and offset configuration, which would allow the system to individually address a group of slaves or a slave to respond to a different set of outputs, if desired. This gives room for growth in the future.
In the next post in this series, we'll get into the actual Tesla coils and how they interface with the project. In the meantime, you can see the prototype discussed in this article below.