Plans
200,000-Volt Van de Graaff Generator
Have hours of high-voltage fun when you experiment with this working high-voltage generator.
The first known electrical generator was built in 1660 by the German experimenter, Otto von Guericke (also known to historians as the inventor of the air pump). Though Guericke's generator consisted of little more than a revolving ball of sulfur, that frictional device was capable of developing a very strong charge of static electricity.
The generator's ball was made by pouring molten sulfur into a spherical glass container "about the size of a child's head." When the sulfur cooled, the glass was broken open, and the globe removed and equipped with an iron axle. The assembly was then mounted on a wooden frame that allowed the ball to spin freely. When a dry hand was applied to the rotating sulfur sphere, the ball would become electrified, attract small objects, make a crackling sound, and glow faintly in the dark.
Van de Graaff's Generator
Otto von Guericke's machine quickly became obsolete, but the triboelectric principles that allowed that generator to operate did not. It is an elementary physical fact that extremely high voltages can be generated by the repeated contact and separation of dissimilar substances, a process that is otherwise known as friction.
In 1927, New Zealand physicist Ernest Rutherford voiced the need for "a copious supply of atoms and electrons ... transcending in energy the alpha and beta particles from radioactive substances." He was talking about an accelerator. Rutherford's wish inspired a young American scholar by the name of Robert J. Van de Graaff.
Van de Graaff knew that charged particles could be moved to high speeds by high voltages. He also knew that conventional methods of electrical transformation might not provide the necessary energy. But the electrostatic characteristics of the atomic nucleus gave him an idea. Van de Graaff decided to find some way of generating high electrostatic voltages in order to, as he phrased it, "meet the atom on its own terms."
The first Van de Graaff generator was built at Princeton University in the fall of 1929. Van de Graaff built the machine from scrap: a silk ribbon, a small motor, and a tin can. The silk had to be pure; there is a story about how Van de Graaff would visit local fabric shops and set fire to silk samples to see if the cloth was tainted. Van de Graaff's primitive static device developed about 80,000 volts. The high-voltage output was restricted by corona discharge from the edges of the can.
The public became aware of Van de Graaff's new technology in 1931. That's when he demonstrated the creation of over 1,000,000 volts between the spherical terminals of two belt-driven generators. Following that, general interest in these magnificent machines grew very quickly.
Giant Generators
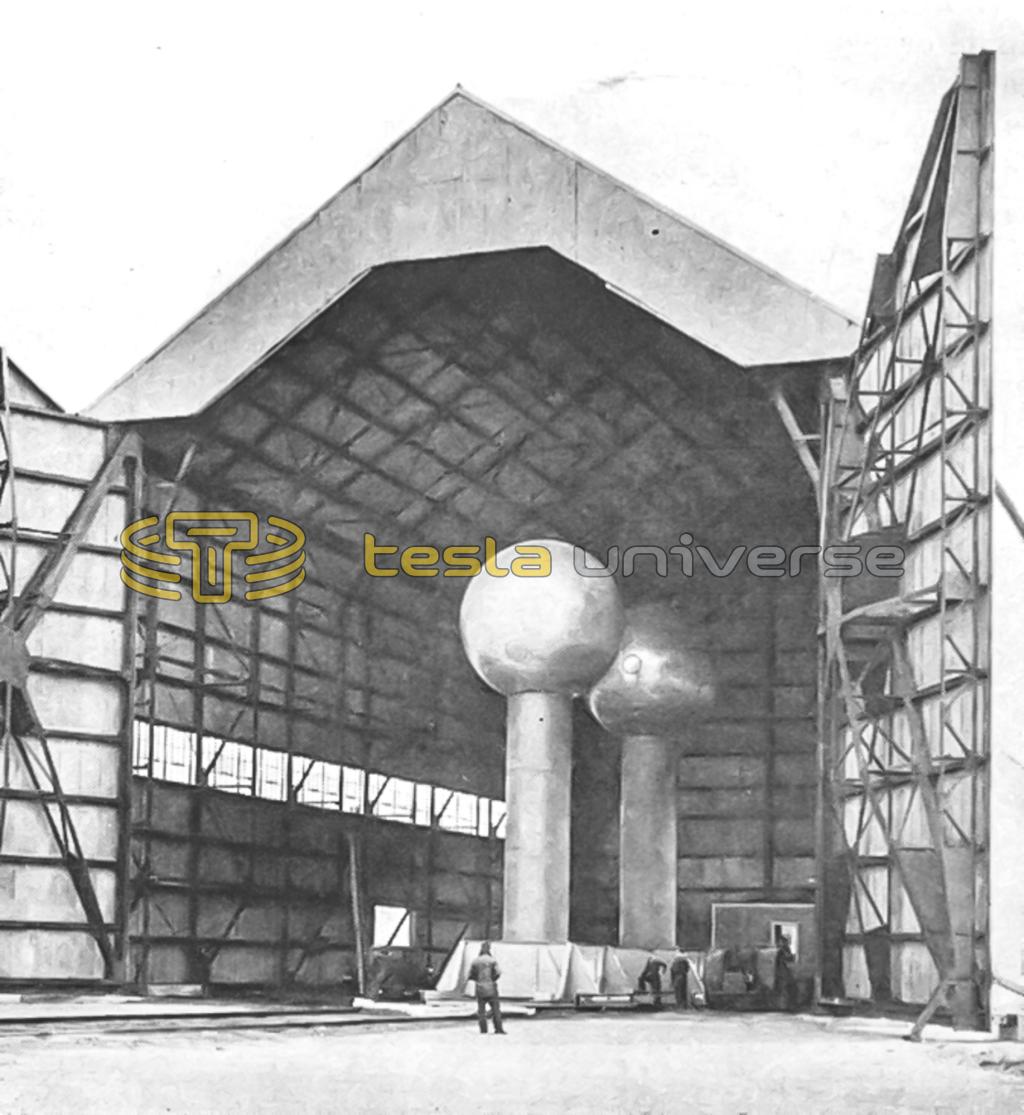
The early success of Van de Graaff's creations was encouraging. Immediately, researchers began making plans for a much, much bigger generator. The size of the machine was to be limited only by the size of the building found to keep it in. A suitable structure was located on the estate of Colonel E.H. Green at South Dartsmouth, Massachusetts. It was the biggest enclosure anyone could find. It was a hangar built originally to house a dirigible, or blimp.
Engineers built two separate machines: one for the positive charge, and one for the negative. The spherical terminals, about 15 feet in diameter, were made of welded aluminum and mounted on two large tubular insulators, each 24 feet high and 6 feet across. The generators were carried on railway track. That allowed technicians to vary the distance between the electrodes. The giant Van de Graaff system was capable of generating nearly ten-million volts.
Warning!! This article deals with and involves subject matter and the use of materials and substances that may be hazardous to health and life. Do not attempt to implement or use the information contained herein unless you are experienced and skilled with respect to such subject matter, materials, and substances. Neither the publisher nor the author make any representations as to the accuracy of the information contained herein and disclaim any liability for damages or injuries, whether caused by inaccuracies of the information, misinterpretations of the directions, misapplication of the information, or otherwise.
A Working Model
With a kit of parts from Analytical Scientific, a laboratory supply company in Texas, you can build your own 200,000-volt Van de Graaff static generator in about one hour. (See the Parts List for ordering information.)
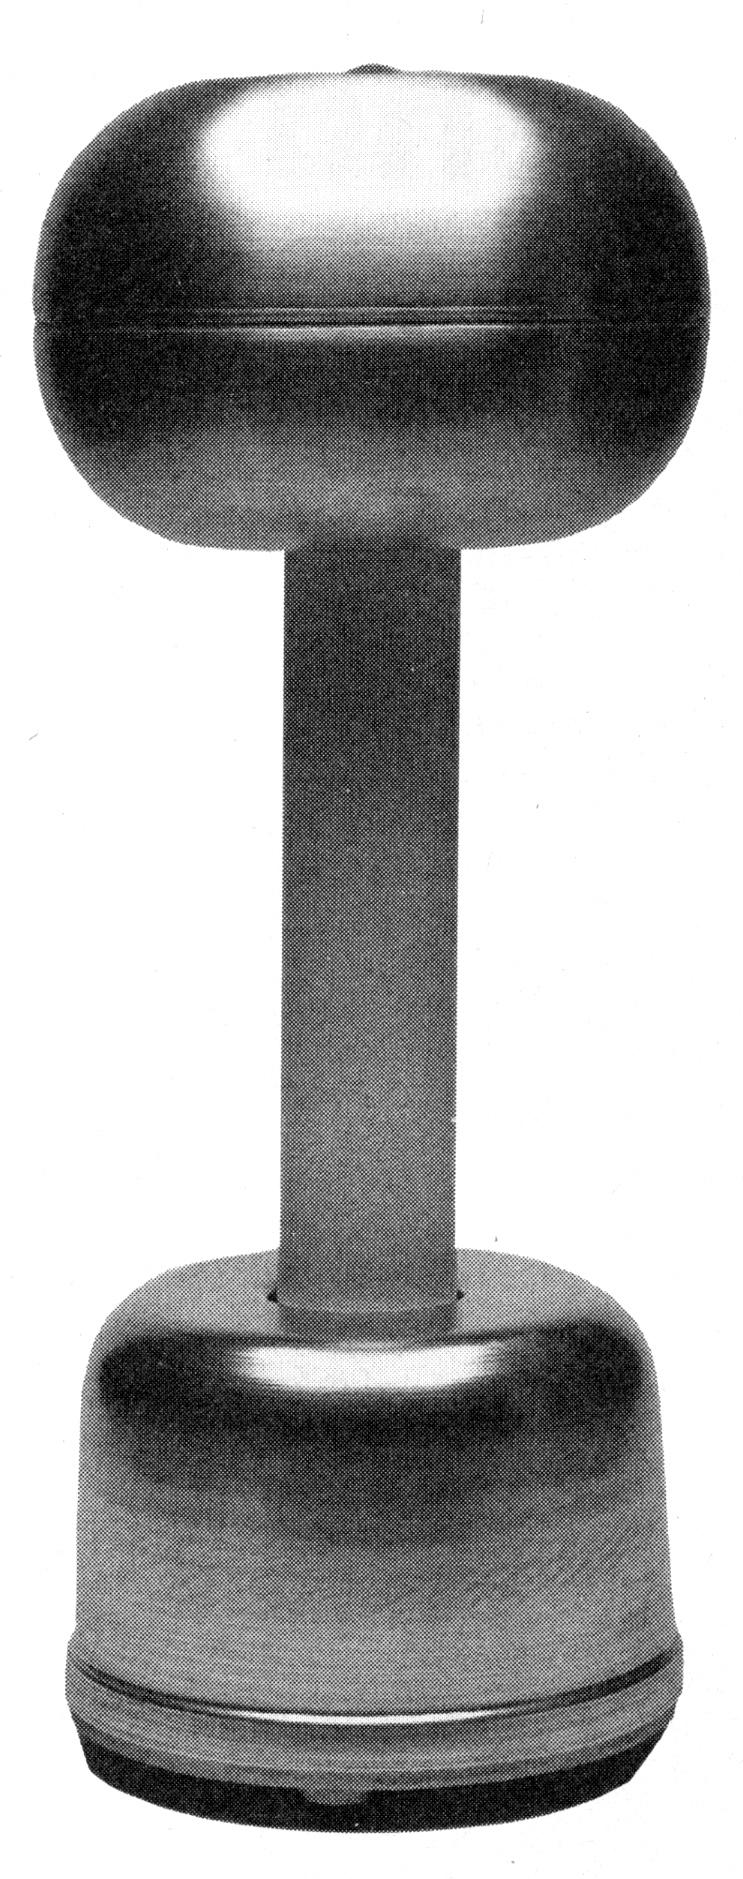
The fully assembled machine is about 18 inches high. The spherical aluminum terminal, mounted on top of a heavy plastic tube (PVC pipe), is about 7 inches in diameter. The generator runs on 117 VAC and comes complete with a small electric motor and all the necessary hardware; there's even a spare rubber belt. It's a classic design and an excellent addition to any home-experimenter's workshop.
Building your Model
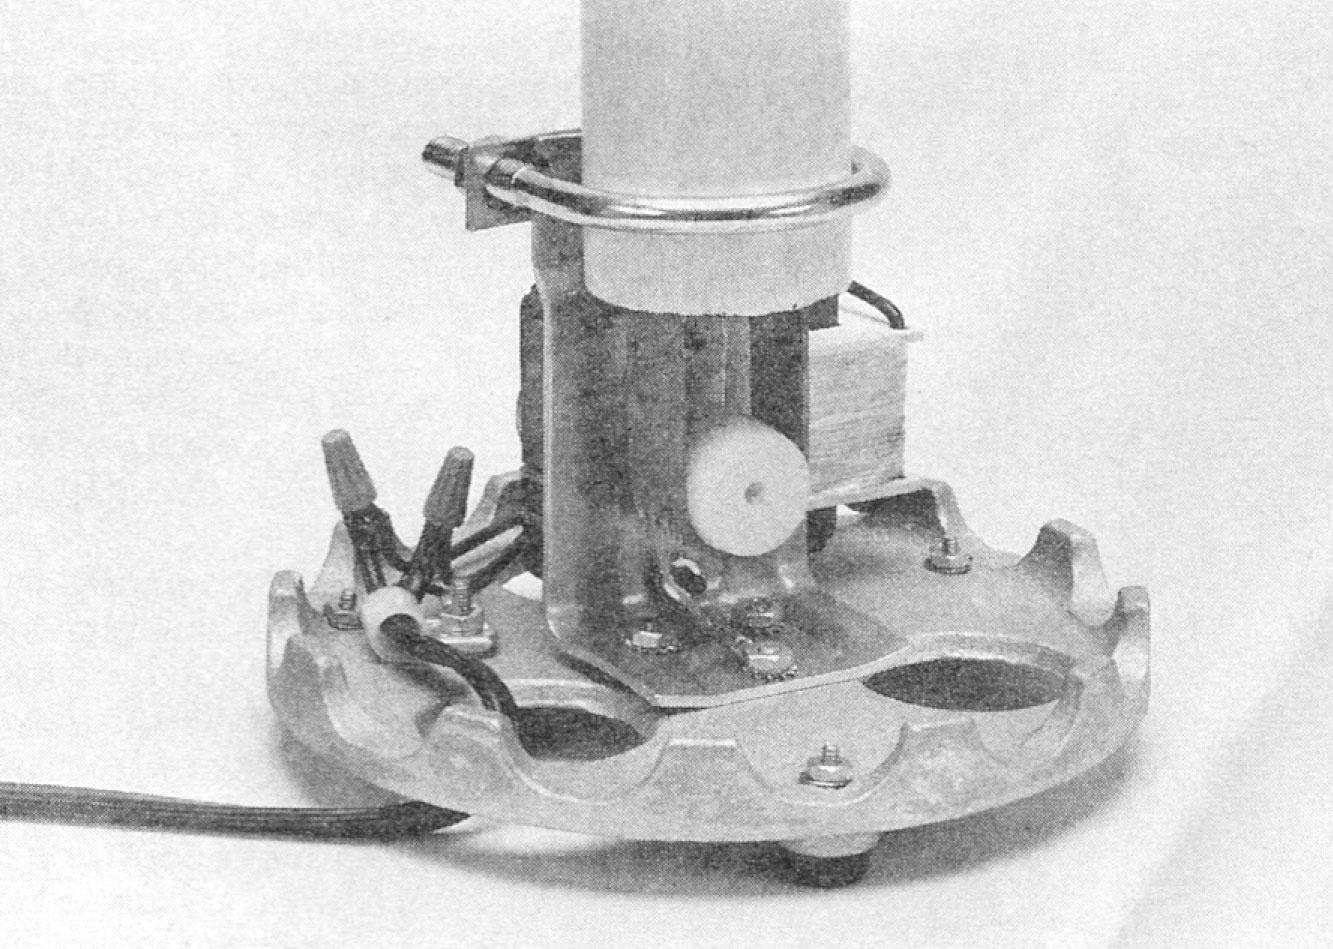
Once you've obtained the kit, begin by attaching the three rubber feet to the round metal base. Now locate the L-shaped motor bracket and the lower brush, which is the short length of stranded wire that's connected to a soldering lug. Push three small screws (8-32 x 1/2-inch) up through the bottom of the base and the motor bracket. Place lock washers on the screws and secure the assembly with three 8-32 hex nuts. The lower brush goes on the screw furthest away from the 90-degree bend in the motor bracket. The brush should point towards the vertical section of the bracket. Handle the brush carefully as it is delicate.
The next step is to find the electric motor and mount it by passing the two threaded studs plus the armature shaft through the three remaining holes in the motor bracket. Place lock washers on the threaded studs and secure the motor with a couple of hex nuts.
Now look for the white plastic pulley. Push the pulley over the armature shaft. If you have trouble, tap the end of the pulley very gently with a small hammer or the handle of a screwdriver. The pulley should not come into contact with the motor bracket.
The plastic pipe is held against the upper portion of the motor bracket with a large U-bolt, a metal strip, and two large hex nuts. One end of the pipe has a couple of semi-circular notches cut into it. That end of the pipe should be up; the plain end should be down. The lower end of the pipe should extend about 5/8 inch below the U-bolt. The notches on top should line up with the pulley at the bottom. To check the alignment, simply look straight down through the center of the pipe.
Next, locate the rubber belt and slip it over the metal pulley. Place the pulley into the two notches on top of the insulator and allow the belt to fall through the tube. Pull the lower end of the belt down and place it over the lower pulley. Try to avoid handling the belt too much as skin oils can reduce its effectiveness.
Now, very carefully, adjust the lower brush so that it just barely touches the rubber belt. Spread the strands of wire gently so that as many of them as possible are touching the rubber.
Find the collector support and upper-brush assembly. That's the short length of stranded wire soldered to a V-shaped piece of stiff wire. Push the V-shaped wire into the two small holes at the upper end of the insulator (PVC pipe). And here again, adjust the stranded wire brush so that it just barely touches the rubber belt.
Return to the bottom of the generator and hook up the 117-VAC line cord. Use the wire nuts provided with the kit. The line cord is held in place with a plastic strain relief. Don't forget to connect the little green ground wire. Both the strain relief and the ground wire are attached to the base of the generator with a small screw and a hex nut.
Finally, lower the cylindrical aluminum shell over the plastic tube and push it down over the base. Then place the spherical terminal over the collector support. It should balance perfectly. Now stand back and admire your new Van de Graaff generator. It's a work of electromechanical art!
Testing
Plug your generator in and the motor should turn. If it doesn't, remove the upper spherical terminal and give the pulley a little spin in the right direction. That should start the generator. Replace the aluminum sphere immediately.
Wait a few moments for a charge to build up on the terminal. Now approach the sphere with a large fluorescent tube. When the tube is three or four inches away from the sphere, the machine will discharge, and the tube will flash. If that doesn't happen, or if the flash isn't very bright, your generator is not working properly.
Unplug the unit and remove the upper terminal and the lower shell. (Please be careful. A small static charge may be waiting for you when you touch the aluminum sphere.) Check the belt and the pulleys for dirt and moisture. They should be clean and dry. Then check the brushes. If the wire strands are too far away from the belt, the generator will operate very poorly, or not at all.
Finally, check both the upper terminal and lower shell for dust and lint. They, too, must be very clean. I was able to improve the performance of my own Van de Graaff generator by cleaning both the shell and the terminal with a bit of good quality metal polish and a soft cloth. That seemed to make a big difference in the machine's operation. In fact, it might be a good idea to polish the aluminum sections before putting the machine together.
Materials List for the Van de Graaff Generator Experiment
Van de Graaff generator kit
Aluminum-foil strips, very thin
Candle
Fluorescent tube
Foam plastic packing material
Metal polish
Metal rod, 8 to 10 inches long
Tape
The Van de Graaff generator kit is available from Analytical Scientific, Post Box 198, Helotes, TX 78023, Tel. 210-684-7373. The catalog number is MLE-10-065 and the price is $137.75. Include $5.00 for shipping and handling within the continental U.S. The Analytical catalog is $3.00, which is refundable with first order. TX orders must include appropriate sales tax.
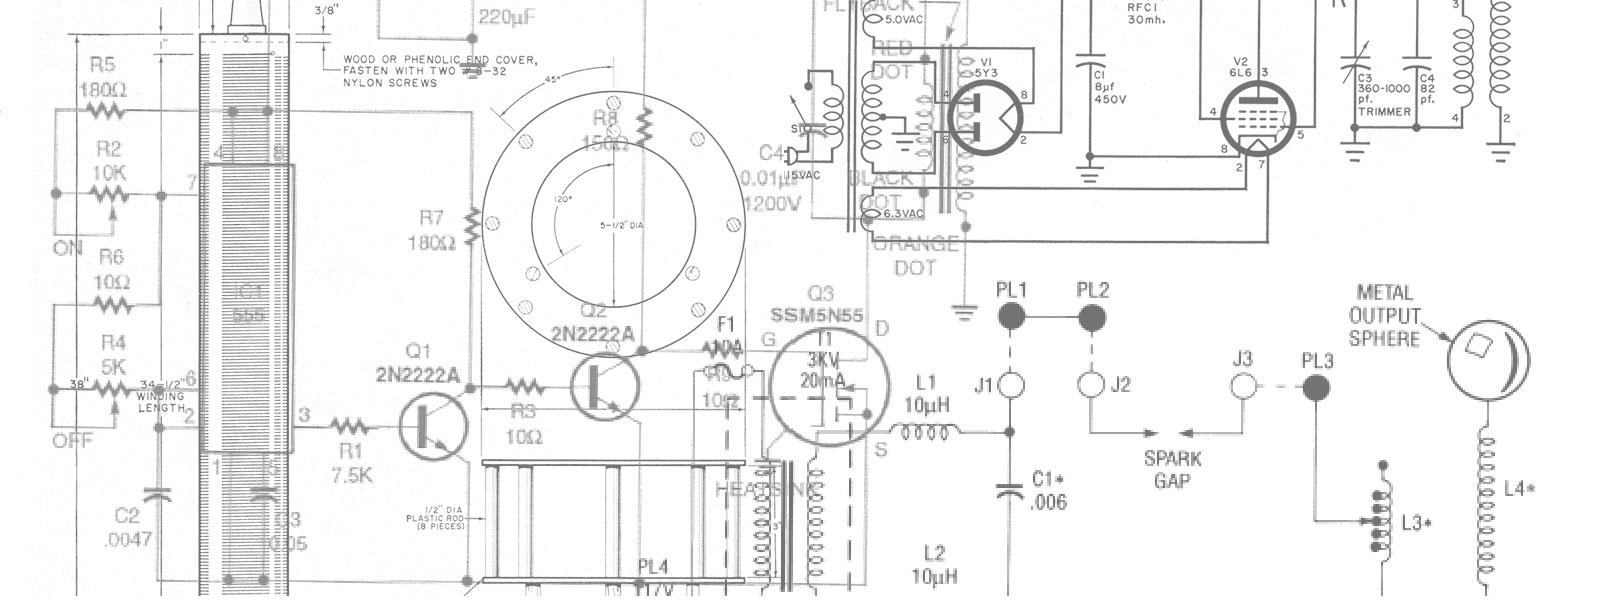
Theory of Operation
Here's how your Van de Graaff generator works: The electric charge originates with the friction of the rubber belt moving over the lower plastic pulley. The plastic pulley acquires a negative charge that appears on the outside of the belt while a positive charge appears on the inside. The negative charge is picked up by the ionized air around the lower brush. The positive charge is carried to the upper brush by the belt where it is transferred to the aluminum sphere.
A powerful static charge builds up on the spherical terminal. In a dark room, you will be able to see long, thin, bluish bolts of artificial lightning jump between the upper terminal and the base. It's a fantastic sight!
Experiments
Gaseous tube illumination and spark production are only two of the many interesting things you can do with your Van de Graaff generator. Here are just a few of the others:
- Obtain some foam plastic packing material and break it up into small pieces. Turn on your generator and allow it to run for a few moments. Now, drop the plastic bits, one by one, on top of the spherical terminal. They land on the aluminum, sit there for a second, and then shoot off! Some of the plastic may fly for a distance of one or two feet. When the material makes contact with the terminal, it picks up an electric charge. Since like charges repel, the plastic is thrown off the surface.
- Find some very thin aluminum foil and carefully cut it into strips about 1/4 to 1/2-inch wide and about 8 inches long. Tape the strips to the top of the terminal. Make sure the foil is making good electrical contact with the aluminum sphere. Turn on the generator. The strips will be repelled from the terminal and from each other. Now approach the sphere slowly with the palm of your hand. The strips will be attracted magically to your fingers!
- You can also use your generator to create what is sometimes called an "electric wind." Locate a narrow metal rod about 9- or 10-inches long. Tape one end of the rod to the top of the spherical terminal. Make sure that this end of the rod is entirely covered with tape, and, once again, check for a good electrical contact. Turn on the machine. Next, light a household candle and approach the free end of the rod with the candle flame. As molecules of ionized air rush from the metal tip, the flame will be blown to one side.
These experiments just scratch the surface of what you can do with your generator. The book, Nature's Electricity by C.K. Adams (Tab Books, Blue Ridge Summit, PA 17294) contains many other interesting experiments that can be performed with your Van de Graaff generator, as well as other static-electricity experiments.
A word of CAUTION: When you work or play with high voltages, you can be injured or killed. Always proceed with caution. If you are a minor, obtain the assistance of an adult.
